Monday, February 27, 2012

Valrhona Chocolate Cupcakes with Valrhona Chocolate Cream

Suddenly feel like baking this morning, so once I woke up..straight into my kitchen and started baking (before having my breakfast)...LOL!! Feel like having some chocolate cakes, with rich chocolate cream....so Valrhona chocolate that's it!! My favourite chocolate!!
A recipe from my collection books, "Favourite Cupcakes & Cheesecakes", published by Page One which I got it long time ago. Well, I didn't follow the recipe to the dot.. infact, I created my own..haha! The result....super yummy!!

The recipe suppose to be a Vanilla Choc Cupcakes, but I wanted it to be with full of chocolate, so I changed it. Anyway, the topping was exactly from the book!
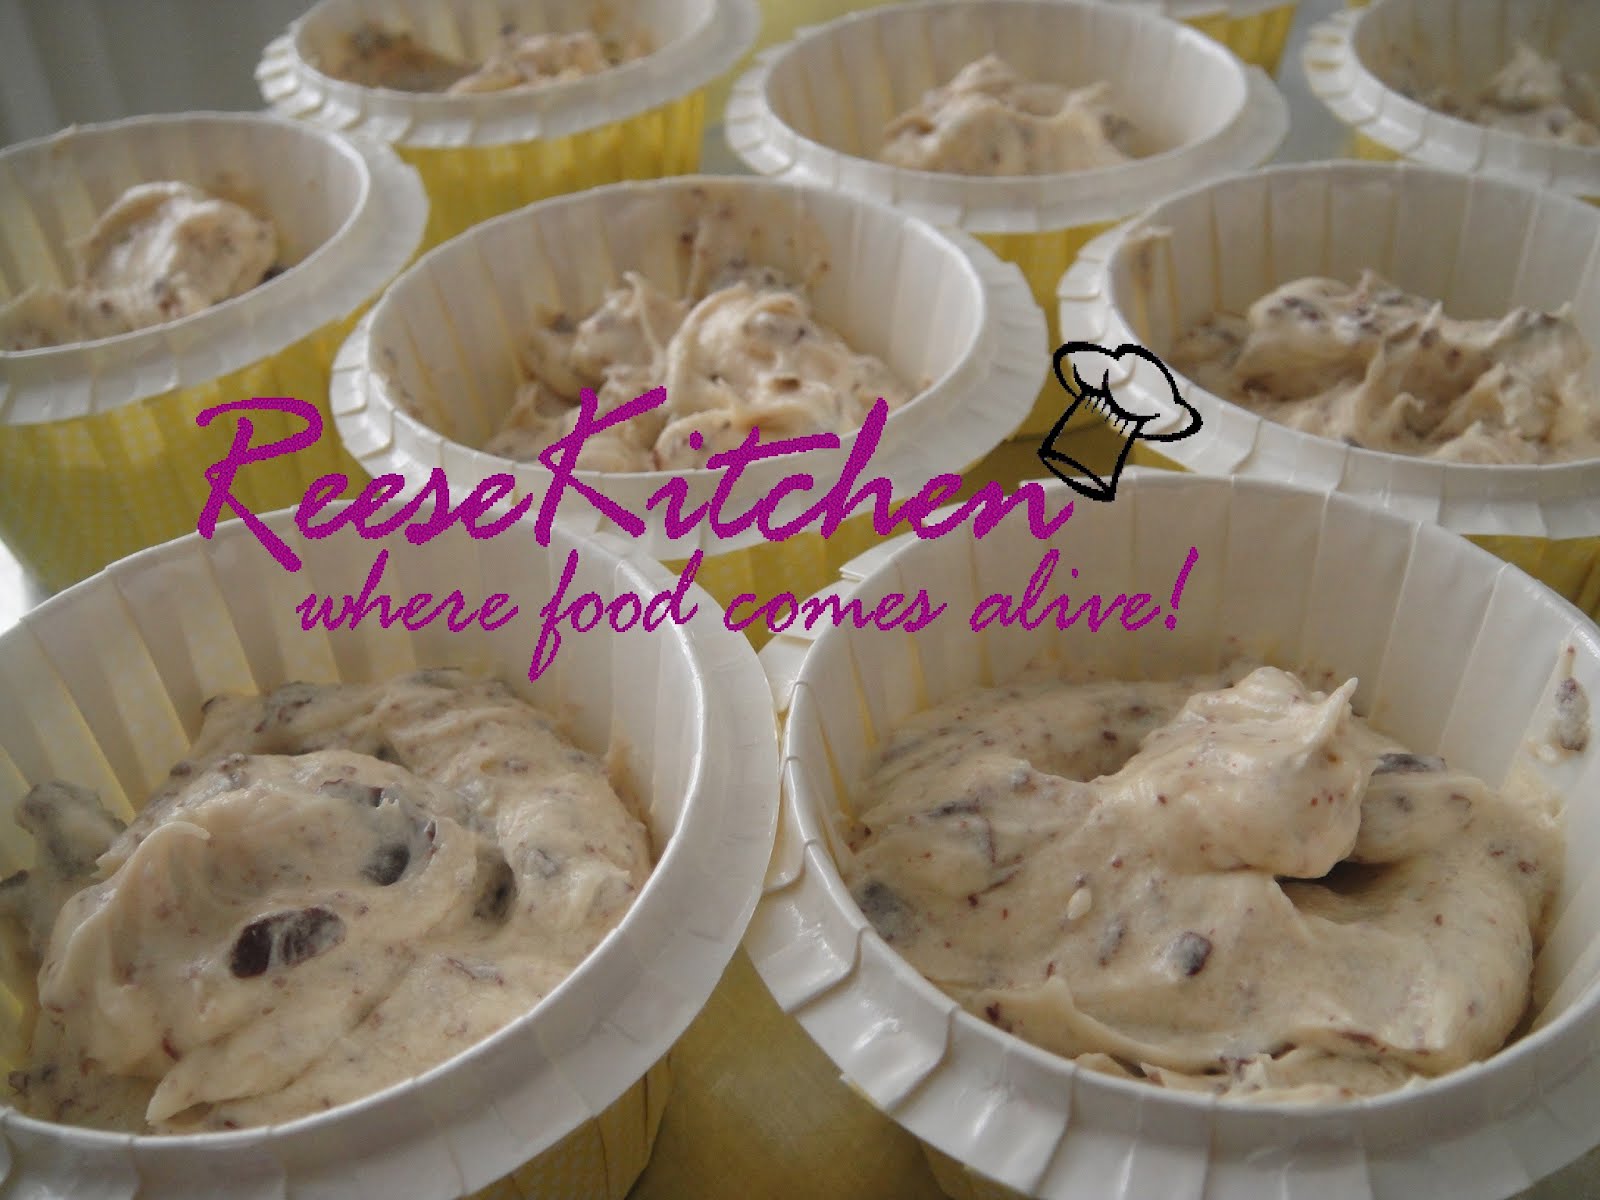
Remember to fill the batter just half of the paper cups so that it won't be over flow. (like below)
Recipe:
225g butter
200g sugar
3 eggs
1/2 cup thick cream
1+ 1/2 cup cake flour
1 tsp baking powder
100g valrhona chocolate (cut into pieces)

Topping:
100g valrhona chocolate (cut into pieces)
20g butter
1/3 cup thick cream
alittle silver balls for decorations


Method:
~ Preheat oven at 160'C. Beat butter and sugar till light and fluffy.
~ Add in eggs one by one.
~ At low speed add in flour & baking powder and cream. Mix well.
~ Add in chocolate pieces and beat for another 2 minutes.
~ Spoon into prepared paper cups and bake for 20-25 minutes at 160'C.

Fillings methos:
~ Place chocolate pieces and butter in a deep bowl, double boiled until melted.
~ Remove and add in cream. Mix well and leave to cool.
~ The mixture should be firm and velvety in consistency.
~ Use a fork to apply the icing on the cooled cupcakes and finish with some silver balls.


The texture of the cake was really soft and delicious. Try it out and let me know...I'm sure you'll like it..:)


Cheers!!


Tuesday, February 21, 2012

Tuna Cheese Rolled Buns

It has been a long time since I made some bread or buns for my family. The whole house smells so good today with these tuna buns...:))
I've wanted to try this recipe long time ago but I was so lazy until today...;p This recipe was taken from my old collection, "DIY home bread" ~ step by step. Somehow I've change the method by rolling it instead. Why?....actually it was just for fun...hehe!

By using the muffin pan, it really looks alittle different from the normal buns, they actually looks like a muffin cake instead..^^
The recipe made 14 buns (the normal muffin size) so I've 2 extras that sat into the muffin cups!!

Here comes the recipe....

(A)
230g Bread flour
5g instant yeast
170g water

(B)
20g egg (slightly whisk the egg before weighing)
60g sugar
1/4 tsp salt
25g cold water
3g instant yeast
100g bread flour

(C)
30g butter

Method:
~ Mix all ingredient (A) together and let rest for 2 hours
~ Add in ingredients (B) into (A) and beat till smooth dough then add in (C) and knead into an elastic dough.
~ Rest dough for 15 minutes then divide into 2.
~ Rolled out the dough into square about 1cm thick, then spread fillings onto it.
~ Rolled up like a swissroll then cut into 7 equal portions.
~ Placed onto muffin pans with cutting side facing up.
~ Let prove for 20 minutes or doubled in size then brush with egg wash and sprinkle some shredded cheddar cheese if prefered.
~ Bake in preheated oven at 190'C for 12-15 minutes.

Filling:
300g tuna in mayo
2 medium onion (chopped)
30-40g shredded cheddar cheese
alittle pepper

Method:
~ Saute onions with some olive oil till fragnant.
~ Then add in the rest of the ingredients and mix well.

After 20 minutes, the buns do doubled in sizes. They are nice to look at and nice to touch too...haha! I like to touch and press those dough before baking, just love the texture...;p

These are the 2 with muffin paper cups. They are equally nice and they need the same baking time as those in pans.

Oh...so fluffy and delicious!! Sharing some with my friends just now and hope they like it. My husband just tried one and said its nice....YEAH!!! I've done another good recipe to share..:)

Hope you'll like this too!!

Cheers!!


Monday, February 13, 2012

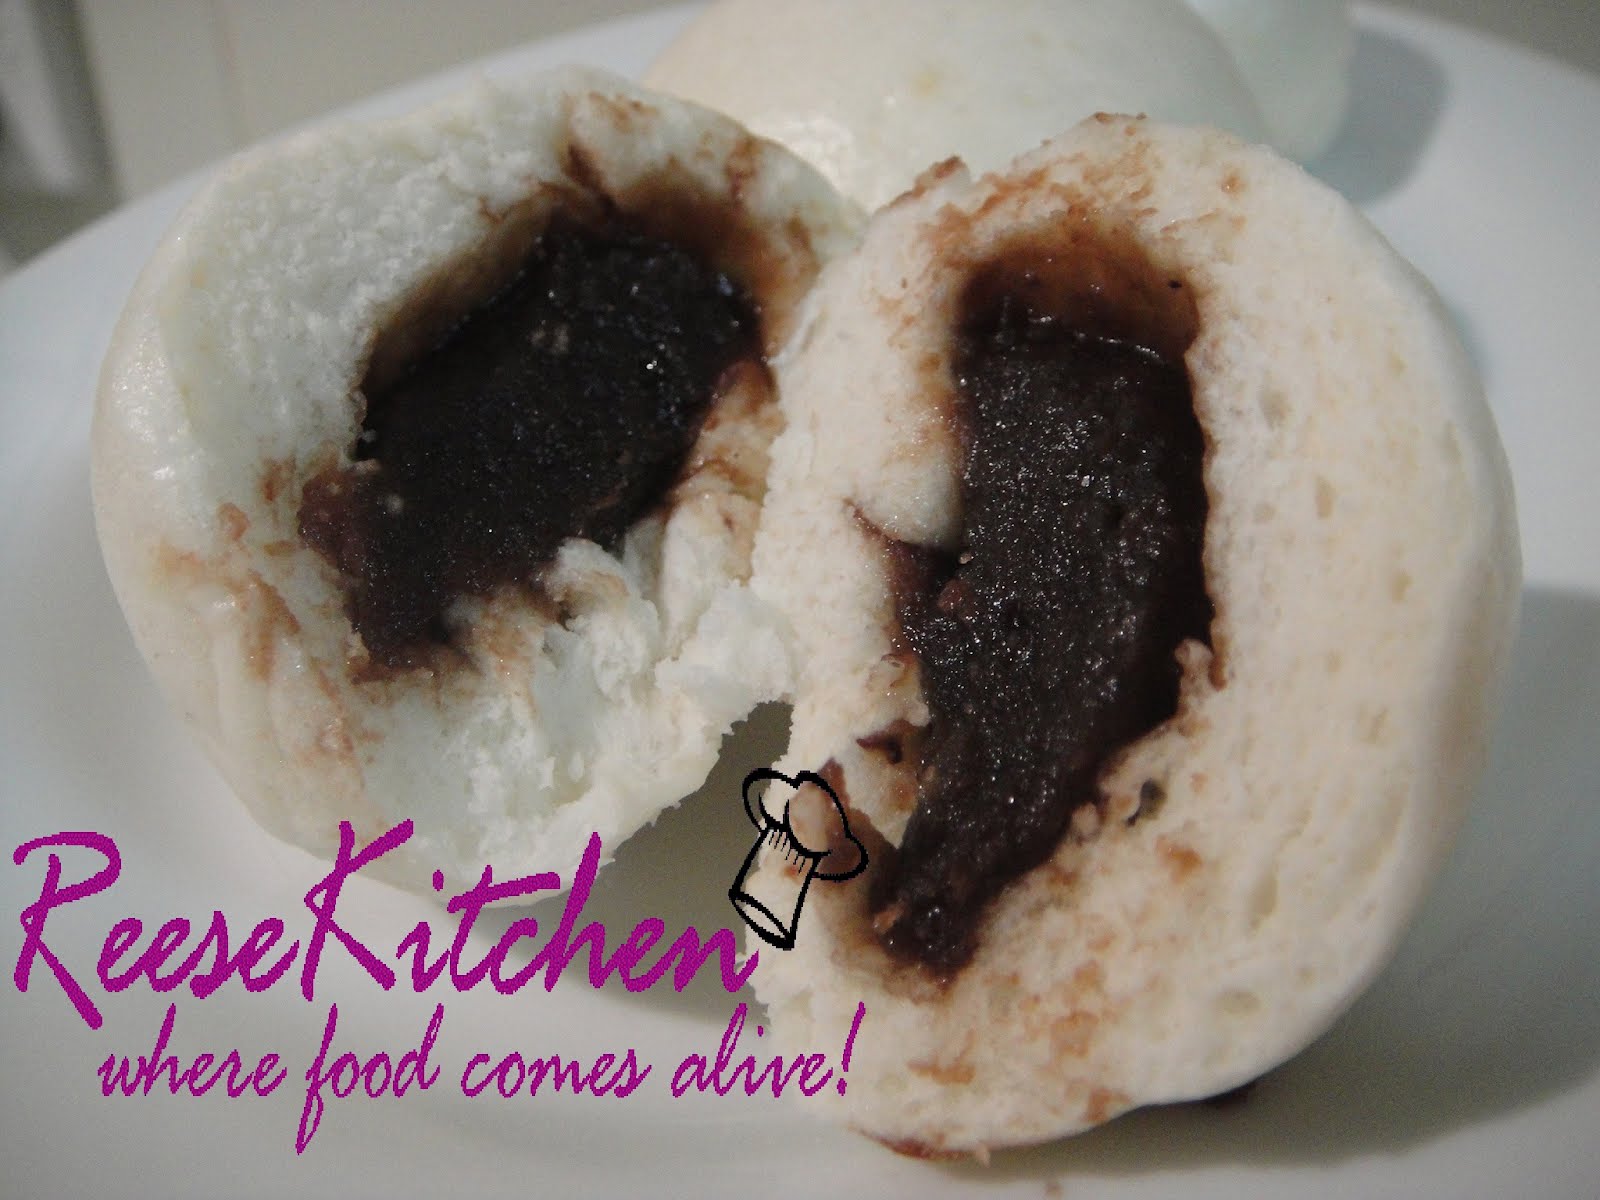
Another Red Bean Bao

Steamed Baos!! I love baos and I always made few to store in the freezer, so whenever I feel like eating, then just take out and steam for 10 minutes, then I'll have hot steam baos...:)) By the way, don't store them in freezer more than 2 weeks lah...hehe! We all know that fresh ones always the best, right?!!
Alright, today I'll like to share one of the easiest and new found recipe of Red Bean Baos! I got this recipe from a book (a gift from my sister) named "Chinese Buns"..包好吃!

The result is good and they do look white and smooth! Will be trying more recipes from this book soon..:)

Somehow, it didn't show or mention on how to knead the dough, so I assumed it'll be the same as my old recipes. Below shows how I cut and wrapped up the dough before using it.

Ingredients:
300g Pau flour or Hong Kong flour
5g instant yeast
5g baking powder (just the normal one)
70g sugar
3g shortening
130-140ml water (add slowly)

Fillings:
about 400g Red bean paste

Method:
~ Mix all ingredients together and knead at high speed for about 5-10 minutes, until it forms a smooth dough. Then take out and roll into a long stripe. You may have a very smooth effect here.
~ Cut into 20 small pieces. (sizes depends to individual). Roll into flat sheets.
~ Wrap in the red bean paste filling, seal tight and round up nicely. Place on top of prepared baos's paper and leave to rise for 30 minutes.
~ Steam over high heat for 5 minutes.

Arrange the Baos like shown above, not too near to each other so that they will not be sticking to each other while steaming. This is really soft and fluffy, and most of all...easy!!


Cheers!

LinkWithin

Related Posts with Thumbnails