Saturday, June 25, 2011

Happy Birthday Honey ~ Simple Fruit Flan Cake

Its my hubby's birthday today!! Happy Birthday Honey...:)

I have been searching and thinking what kind of cake to bake for him for the past 2 weeks. I want something special but it has to be his favorite. He's not those fondant fan, and he doesn't like chocolate or coffee cakes. Well, his favorite cake is butter cake! Sounds boring...haha!

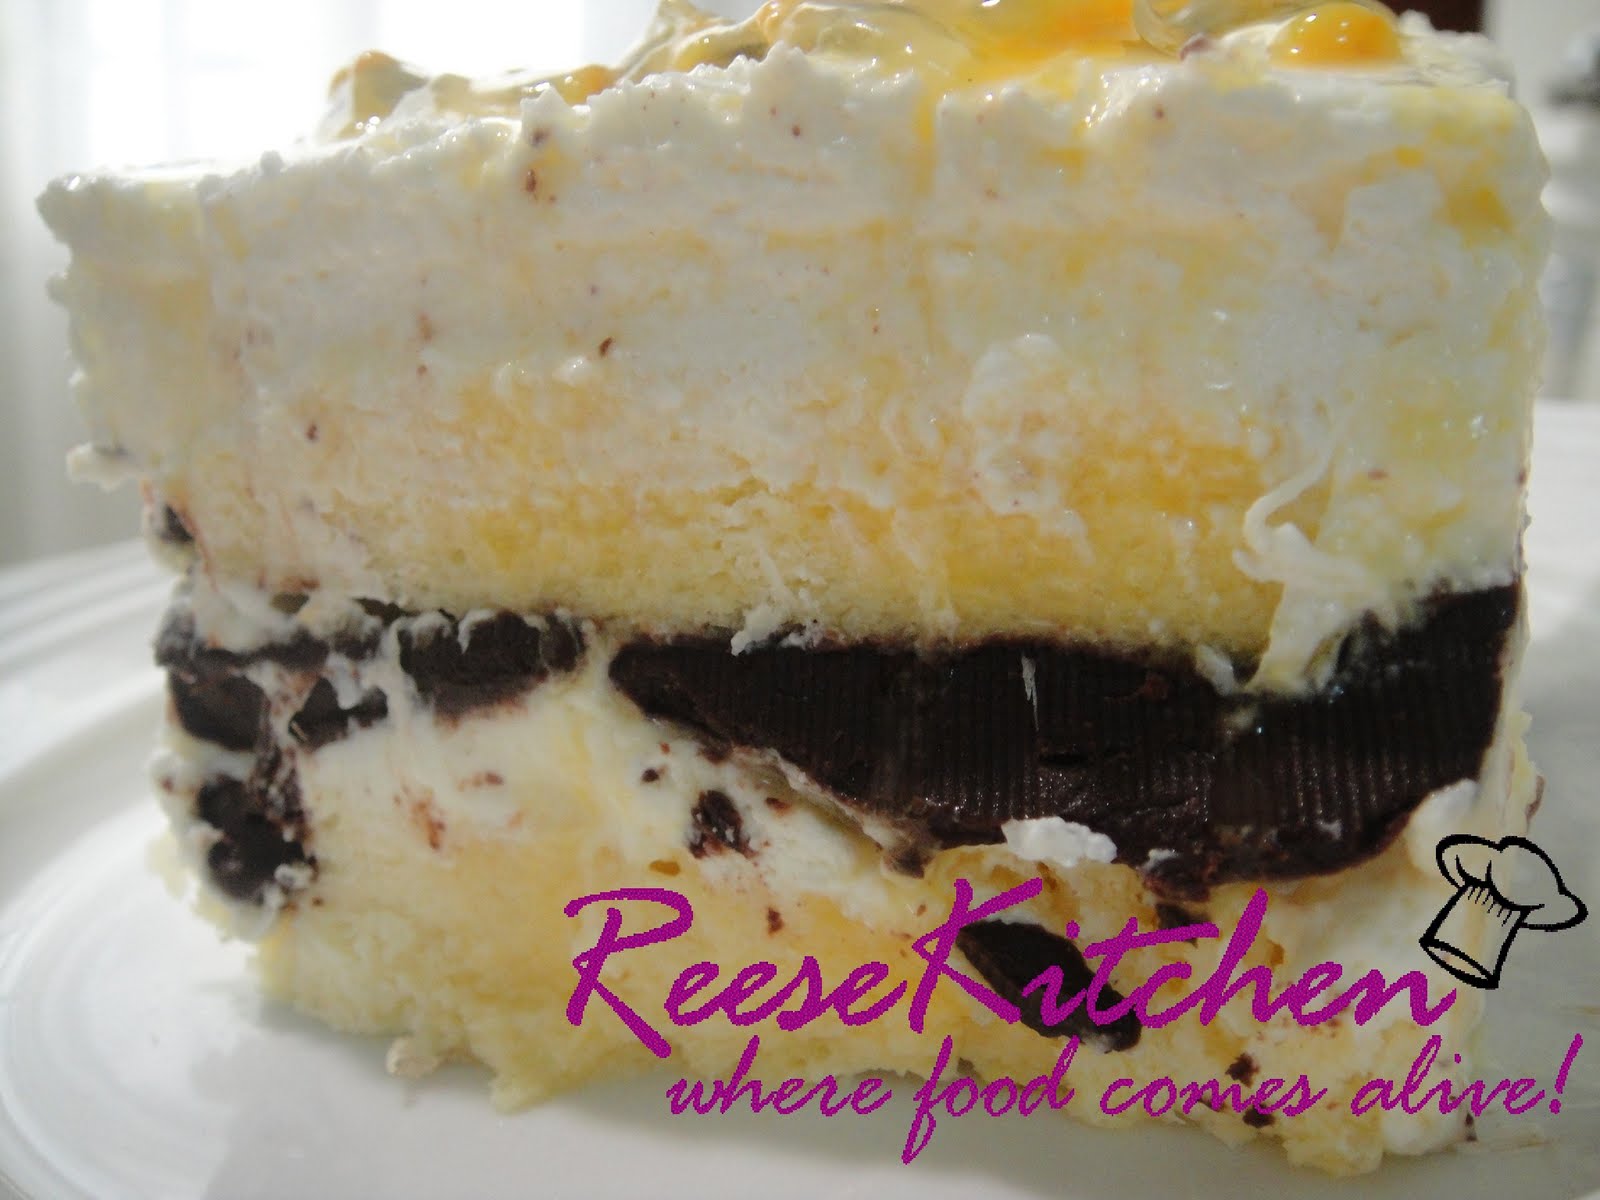
Just past 2 days my daughter and me have decided to bake something light and easy for him. A simple fruit flan cake..that is it! Fresh and light, a simple 2-tiered heart cake...:) Ah...see the decorations, its my daughter's idea...haha..."Strawberries".

Oh yes, my hubby love it! He had a big piece of it and said its good!! I'm very happy with his feed back...haha!
A very simple cake with fresh strawberry cream and Lychee.....sounds weird but taste super good.
If you like to try, here's the recipe...

**Prepare the sponge and cut into desire shape. I used 2 heart shape pans (6" and 4") for this cake.

Ingredients for the sponge:
6 egg yolks
20g fine sugar
60g fresh milk
45g corn oil
100g superfine cake flour
15g cornflour

6 egg whites
65g fine sugar

Method:
~ Beat egg yolks and sugar till well blended, add in oil, milk and mix well.
~ Add in both flour and mix well. Set aside.
~ Whisk the egg whites with sugar till a stiff peak form.
~ Mix in the egg white mixture into the egg yolks mixture (divide into 3 times) until well blended.
~ Pour onto pan with parchment papers, and bake at 180'C for 15-20 minutes or until cake tester comes out clean.

Ingredients:
150g Non dairy cream (whipped)
100g fresh strawberries (blended)
1/2 can Lychee (canned) ~ halved

~ Mix the blended strawberries with quarter of the whippped cream.
~ Sliced the sponges into layers, spread the strawberry cream on the 1st layer then place some halved lychee on the cream.
~ Spread another thin layer of the strawberry cream on top of the lychee and sandwich it with another layer of sponge.
(do the same for the smaller heart shape sponges)
~ Cover the cake with remaining whipped cream and decorate as you like.


Happy Birthday Honey, and may you stay healthy and happy with us...:)

Sunday, June 19, 2011

BBQ Meat Puff Pastry 叉烧酥

After a great holiday last 2 weeks, I've gained some weight but that doesn't stop me from baking anyway..;p During the holidays, I've got some new recipe books and today's post is from one of them. A nice book but somehow I find that the recipes inside does not really give us the correct way or measurements. So I've done some changes and make sure it turns out right.

Let me tell you my story about making this puffs. I've prepared my own version of bbq meat the night before and was nicely kept in my fridge. The very next morning, I woke at 730am to start making the pastry. I was so excited and put so much hope that I can bring all these puffs back to my hometown for my grandma and others. But something was not right when I started to knead the water dough of the pastry. I followed exactly from the book and the I can't knead the said ingredients into a dough. I was so upset and frustrated then I started to panic because I've promise to bring back some nice puffs for our tea that day. Then I try my best to make some changes out from the book.

I was nervous when the puffs was still in my overn and keep praying for good results..haha!
Well, from the pictures above I can say those puffs taste good and crispy. And so I've done another new version of the ingredients again..hehe!

Here's the recipe.......

Fillings:
300g Bbq chicken meat or BBq pork (finely chopped) ~ Recipe here.

Pastry:
(Water dough)
300g Plain flour
60g Margarine
3 tbsps fine sugar
2 eggs
5-6 tbsps water ( may need more if the dough still dry)

(Oil dough)
150g plain flour
100g Margarine

Method:
~ Mix all water dough ingredients and oil dough ingredeints separately until a smooth dough form. Rest dough for 10 minutes.
~ Divide water dough into 20g each and 15g each for oil dough.
~ Wrap oil dough into water dough and roll into reactangle shapes. Fold into 3 layers and roll out again. (repeat 2 times).
~ Roll out dough (still rectangle shape) and place some fillings on one side of the pastry and fold the other end over the fillings. Seal tight all edges and seal both side edges with a fork.
~ Brush beaten eggs over surface and bake at 180-190'C for 20 minutes until golden brown.

Try these out and let me know if you have a better recipe for these puffs. Thanks in advance..:)


Happy baking!!

Saturday, June 11, 2011

Passion Fruit Cheesecake with Chocolate

Its the last day of school holiday in Malaysia. Everything will be back to normal tomorrow...:( How I wish my holidays don't ends..;p Well, to celebrate the last day of holiday, I created a cheesecake but its not a cheesy type cheesecake..haha! What am I talking about...;p
Okay, the idea just came across my mind when I was shopping at the groceries yesterday. So here is it..Passion fruit Cheesecake with Chocolate!!


I just mixed and matched the recipes from here and there then I feel like eating it with some chocolate. Then was thinking to coat the whole cake with chocolate but it seems like too sweet or too heavy, so at the end..layered them is my final decision.
Want to try this out? Here's the recipe ...


Composition: ( recipe fits for a 7" round pan)
2 slices sponge cake ( I've cut into small rectangles to fit into 2 small rectangle pans )
** Recipe refer here.


Cheese filling:
250g cream cheese
70 caster sugar
80 fresh passion fruit juice
3/4 tbsps gelatine powder
2 tbsps water
250g fresh cream (whipped)
100g melted semi-sweet chocolate


Method:
~ To make the filling, beat the cream cheese with sugar until smooth, stir in passion fruit juice.
~ Melt gelatine powder with water over a simmering water. Stir into cheese mixture, then fold in whipped cream and mix well.
~ Place a slice of sponge into the prepared pan, spread about half an inch cream cheese filling on top of sponge, spread a thin layer of melted chocolate then place another layer of sponge on the chocolate. Lastly cover the top with cheese mixture. (as shown above)
~ Chill overnight and serve cold.


The texture of the sponge is soft, and it's like eating an ice cream cake! My whole family loves it especially my daughter. She has been asking one slice after another, that really please me..:)

Want to have a bite..hehe! I'm going to share with my dear friend later and see what she says..;p


Have a good start tomorrow!!


Cheers!!

Friday, June 3, 2011

BBQ Meat Baos

Its almost a week past of the school holidays and it seems time past even faster during holidays. We had only 2 weeks of this term break and I hope I'll make the 2nd week will have lots of funs and joy..:)
Today's post is the baos that I read from my dear friend, HSB. This recipe is the most fluffly and soft of all the baos I made before. Love it, and I definitely will use this recipe for the rest of my baos making..:) Thank you Bee Bee!!
If you'll like the bao's pastry recipe, kindly refer here.

I've made this with my favourite bbq meat fillings, and some with red beans fillings too. No matter what's the fillings are, its so yummy even you eat it by its own. Interested on my homemade bbq meat recipe, you can view it here.
The method of folding the fillings into a roll was shown exactly above. Place the sealed part face down on the parchment paper.

Oh I just love the texture...its super duper fluffy and soft!!

I may try with peanuts and vegetarian fillings the next time I make. The whole portion of the baos were cleared in 1 day!!
As mentioned, I'm submitting this post to Aspiring Bakers #8- Bread Seduction (June 2011) hosted by Jasmine from The Sweetylicious


Wishing everyone a happy holiday and have lots of fun!

LinkWithin

Related Posts with Thumbnails