Thursday, April 19, 2012

Layered Choco Mango Yogurt Sponge

Another post!! Yeah!! How hard working I am....LOL!!
Just pushed myself into baking and cooking lately, its all fun doing all this stuff again and the eaters giving me all the good feedbacks..:)
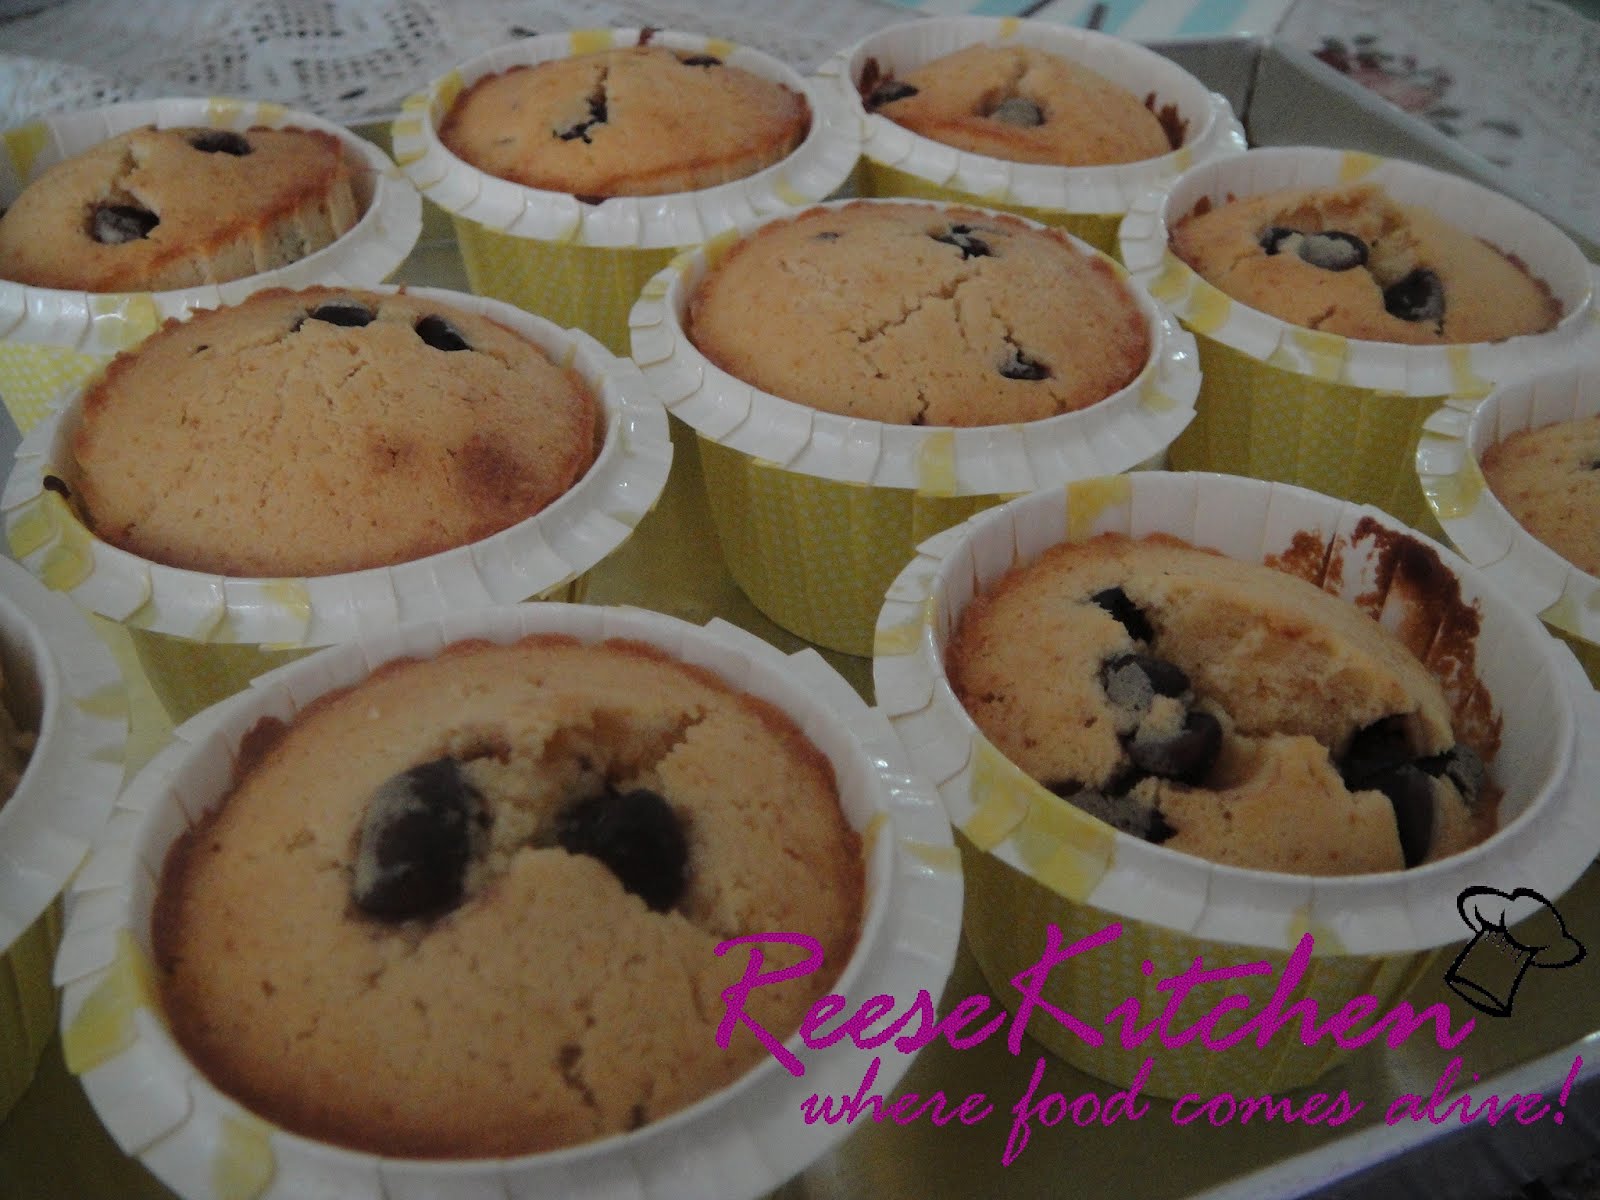
Right, this another simple recipe and my daughter loves it so much! A simple sponge with yogurt cream, yummy!!

Did it last night after dinner and it only took me and hour to complete the whole process and also the cleaned up! Using the egg separated method for the sponges, the texture was so good...soft and fluffy indeed.
Recipe:
Cocoa sponge.
(A)
3 egg yolks
10g sugar
30g fresh milk
23g corn oil
1 tbsp cocoa powder
50g cake flour
7g corn flour

(B)
3 egg whites
30g sugar

Recipe:
Mango yogurt Sponge.
(A)
3 egg yolks
10g sugar
30g mango yogurt
23g corn oil
50g cake flour
7g corn flour

(B)
3 egg whites
30g sugar

Cream Fillings:
100g double cream
50g mango yogurt
2 tbsps mango puree

Method:
~ Beat egg yolks and sugar till bubbly, add in corn oil and milk, stir well.
~ Add in cocoa powder and flour, mix well. Set aside.
~ Beat egg whites till bubbly and add in sugar. Beat until a soft peak form.
~ Add in beaten egg whites into egg yolk batter and mix well.
~ Pour into a 9x11" pan lined with parchment paper.
~ Bake at 180'C for 12 minutes.
~ Once baked remove from pan, slowly remove the parchment paper and let cool.

** Do the same for the Mango Sponge.

Cream Fillings:
~ Beat the double cream until stiff.
~ Add in the rest of the ingredients and mix well. Let set in the fridge for 5-10 minutes before using.

Cut the sponges into half each and stack them with cream fillings. Chilled before serve.
The cream fillings is very nice with mango and yogurt taste. Love it so much!!

Cheers!!

Tuesday, April 17, 2012

Toffee Chocolate Chips Buttercups

Finally I got my butt move into the kitchen today...hehehe!! I've been so lazy lately until all my friends asking what happen to me..;p Well, my mind is wondering with nothing and just go on with my daily routine, days after days...time flies!!
Okay okay, as I promise myself to bake something and something that is totally different from my old recipes, so here comes my self invent....Toffee Chocolate Chips Buttercups!! Is it a common one? I'm not sure, I just open up my cupboard and used whatever I have...LOL!!
Finally, I've finished using all the toffee which has been sitting in my fridge for weeks...^^
Actually not only this I've baked today, there's a Butter Cake for my hubby and a Coffee Marble Cheese Cake for a friend..:)

These cupcakes are so soft and fluffy, and the sweetness was just nice to go with the semi sweet chocolate chips (which is going to expire soon, hehe)

Here's the recipe:

200g butter
1/2 cup toffee
3 eggs
1 & 1/2 cups cake flour
1/2tsp baking powder
100g semi sweet chocolate chips

Method:
~ Beat butter and toffee will light and fluffy, add in eggs one at a time.
~ At low speed add in flour and baking powder.
~ Using a spatula, mix in the chocolate chips.
~ Spoon into 3.5oz (cupcakes) cups and bake at 180'C for 15-20 minutes. Makes 10 cupcakes.

As simple as that!! Nice to go with a cup of coffee or tea. Yumssss!! Can't wait for my little one to try later, with her favourite chocolate chips in it, I'm sure she'll say "good"...;p

Cheers!!

Thursday, April 12, 2012

Toffee Milk Cheese Buns

At last I got to make these yummy buns which I've been planning for months...hehe! I've been so lazy and was too lazy to do anything including the daily chores at home..;p Got to push myself alittle bit more into my kitchen from now on...or else all my baking stuff will get expire soon!!

Alright, here's the buns...Toffee Milk Cheese Buns. The toffee has been sitting in my fridge since my last baked of my Banoffee Tarts. There are still some more there, so I'm planning to make something else with it.

These buns are really soft and not that much time consumed. There are no 1st or 2nd proofing needed...it's all in 1!!
Recipe taken from the book DIY Home Bread, but I've done quite alot changes with it.

Here it goes....
60g toffee
20g egg
160g cold water
1/2 tsp salt
5g instant yeast
260g bread flour
40g plain flour
5g milk powder
30g butter

Topping:
egg wash
little fine sugar
some cheddar cheese

Method:
~ Put all ingredients into the mixer except butter and knead into a dough.
~ Add in butter and let the machine do the work for about 15 minutes until an elastic dough formed.
~ Placed dough in a cleaned deep bowl and covered with cling form and rest for 45 minutes.
~ Make 12 small balls and let rest for 15 mins.
~ Cut each small balls into half and roll into short strips and braid it.
~ Let rest for another 10 mins then brush with beaten egg, sprinkle some fine sugar and topped with cheddar cheese.
~ Bake at 190-200'C for 12-15 mins.

These buns are so soft and yummy. My daughter took 2 buns right after her dinner. (her dinner was a big plate of speghetti) So it can tell how nice was this buns, right?!
I've shared some with my best friend, and hopefully she'll let me know whether she likes it or not...hehe! Think I should call her now...LOL!!

Cheers!!

Saturday, April 7, 2012

My Sister's Pre-Wedding Cake

It's my sister's wedding yesterday and before her big day, we had a small family gathering (her pre-wedding night) at the hotel suite. Well, it was a great night after gathered with my parents and sisters, then my husband and me sneaked out for a good movie and a super good supper...hehehe!!
Right, about the cake....I've actually planned to make this for my sister on her wedding day but with not much confidence, I decided to make a small one for her pre-wedding night. Anyway it ends up cutting the cake the next morning when the groom was here....:)) I did has good compliments and all the Woooos & Ahhhhs about the cake, but I'm not satisfied with it...real rough work I did!! You'll see....;p

I did some white roses to decorate the cake, at least I'm quite satisfied with the flowers. (but not the finishing of the cake)

See...now you know why I said that....so terribly done right?!! Well, well....I know the fondant to cover the cake was too thin but I have no more time and no more extra fondant to do it again. I was so frustrated at that moment and was actually sweating while thinking what am I going to do to cover all that.....that ugly parts!!

So, first I covered the sides with some white patterned fondant as ribbons...haha! see from far, at least it looked better....;p
Then with the roses and butter cream, I did my best to covered the whole cake (those ugly parts) as much as I can.

My dear friend did gave me some advice and tips to touch up the cake and make it look even better but by that time, visitors started to come and I was so busy by then. So at the end, the cake was left the way it was...haha!

But....the cake tastes delicious!! This I have no doubt at all. It was real good that everyone forgot about the decoration...LOL!!
This recipe was actually taken from a book which I can say, it was a terrible book. The recipe which printed in this book was in English and Mandarin, but both was printed with different measurements and ingredients!! Can you imagine that...:(
Therefore, I did my own version for this recipe...which was real good and well received..:)

Coffee Almond Butter Cake:
275g Butter
200g sugar
5 eggs
3 tbsps milk
1 tbsp coffee paste
230g cake flour
1 tsp baking powder
60g nibbed almonds

Method:
~ Beat butter and sugar till light and fluffy, add in eggs one at a time. Continue beating for another 4-5 minutes.
~ Add in milk and coffee paste, mix well.
~ At low speed fold in flour and baking powder. Mix well.
~ With a spatula, mix in nibbed almonds.
~ Pour in a 9" round tin ( I used two 6" round tins ) and bake at 180'C for 45 minutes.

Trust me, this cake taste really good and you'll want to have more after one slice...^^

Last but not least, I'll like to wish my sister all the best in everything and have a wonderful honeymoon!! Congratulations dear sister...:))

Cheers!!

LinkWithin

Related Posts with Thumbnails