Showing posts sorted by relevance for query chocolate. Sort by date Show all posts

Wednesday, November 24, 2010

A Cake for a dear Friend (Triple Chocolate Cream Cake)

Last weekend we had a wonderful time and dinner out with my dear friend, BB who came visit. This was the 2nd time I see her this year since last September, but we miss her so much and seems like we have not enough time to chat..haha! Actually we've been chatting for hours that day..;p

This is the chance for me to bake for her now...to celebrate her belated birthday..:) I was so excited that I've planned this for weeks..haha! I'm alittle stress while baking and decorating this cake cause I really want it to be a perfect one before I give this to her. But somehow I still find that my work alittle rough..;p

First I've moulded some roses with chocolate fondant and let dry for 2 days. Think this will be nice on a chocolate cake..:)

A cake with chcolate sponges with a layer of "dark chocolate cream", "milk chocolate cream" and lastly "white chocolate cream. Simple decorations with the roses and strawberries, which were all her favourites.

Oh the side..well since I know my work is going to be rough, I've made some chocolate swirls for the side decorations. And here's the cake, Triple Chocolate Cream Cake just for you....Happy Belated Birthday BB, my dear dear friend..:)

If you like the recipe....
*Prepare the chocolate sponge with any sponge recipe you have then slice into 3 layers.
Dark Chocolate Cream:
100g dark chocolate (melted)
1 tbsp cornoil
50g fresh cream (whipped)
1 tbsp chocolate emulco

Milk Chocolate:
50g dark chocolate, 100g white chocolate (melted)
1 tbsp cornoil
100g fresh cream (whipped)

White Chocolate:
100g white chocolate (melted)
1 tbsp cornoil
50g fresh cream (whipped)

~ To make chocolate cream, melt chocolate separately. Stir in oil and fold in whipping cream.
~ Spread dark chocolate cream on the first layer of sponge then sandwich the 2nd layer and top with milk chocolate cream. Sandwich the 3rd layer of sponge and top with white chocolate cream.
~ Coat the cake (side) with milk chocolate cream. Decorate sides with your desire patterns. ( I melted some dark chocolate then spread them using a spoon on a parchment paper and leave to set in the fridge)

Hope you like this cake my friend..:)


Tuesday, April 19, 2011

Chocolate Raisins & Nuts Bars

Chocolate Chocolate!! Who doesn't like chocolate? I think there is none right..:) We adults always love chocolates but just because of the word "FAT" then we'll try to eat less..at least I'm one of them..haha!
Okay, today's post a very simple and yet rich with chocolate and nuts bars which my family adores..:D

Chocolate Raisin & Nuts bars!! This recipe has been with me for at least 10 years, and this was only the 3rd time I made...;p Why? You know larr...."fattening" was the fact..LOL!
But this time it was meant for my daughter, anyhow this is her 1st time trying...haha!


Recipe:
250g Granita biscuits (break into bite size)
100g mashmallows (small ones, or halved the normal size)
50g black raisins
50g yogurt raisins
1 cup roasted peanuts
375g good quality dark chocolate ( i used Vahrona Chocolate)
60g shortening

Mehtod:
~ Prepare a tin (6x9") lined with cling wrap. (make sure the cling wrap enough to cover the top)
~ Combine biscuits with marshmallows, raisins, cherries and peanuts. Set aside.
~ Melt chocolate in a pot, when chocolate is totally melted, add in shortening and mix well.
~ Pour melted chocolate mixture into the biscuits mixture and mix well.
~ Cover the top with the rest of the cling wrap and press firmly.
~ Refrigerate until firm. (at least 5-6 hours)
~ Cut into thick slices or squares.

** Chocolate Bars can be store in fridge for a week.


All so crunchy and chocolatety...this is not the usual bars that you can find at the outside store. Believe me, you'll never stop after starting with the first slice...:D


Cho~co~Late~Ty..:)


Monday, February 27, 2012

Valrhona Chocolate Cupcakes with Valrhona Chocolate Cream

Suddenly feel like baking this morning, so once I woke up..straight into my kitchen and started baking (before having my breakfast)...LOL!! Feel like having some chocolate cakes, with rich chocolate cream....so Valrhona chocolate that's it!! My favourite chocolate!!
A recipe from my collection books, "Favourite Cupcakes & Cheesecakes", published by Page One which I got it long time ago. Well, I didn't follow the recipe to the dot.. infact, I created my own..haha! The result....super yummy!!

The recipe suppose to be a Vanilla Choc Cupcakes, but I wanted it to be with full of chocolate, so I changed it. Anyway, the topping was exactly from the book!
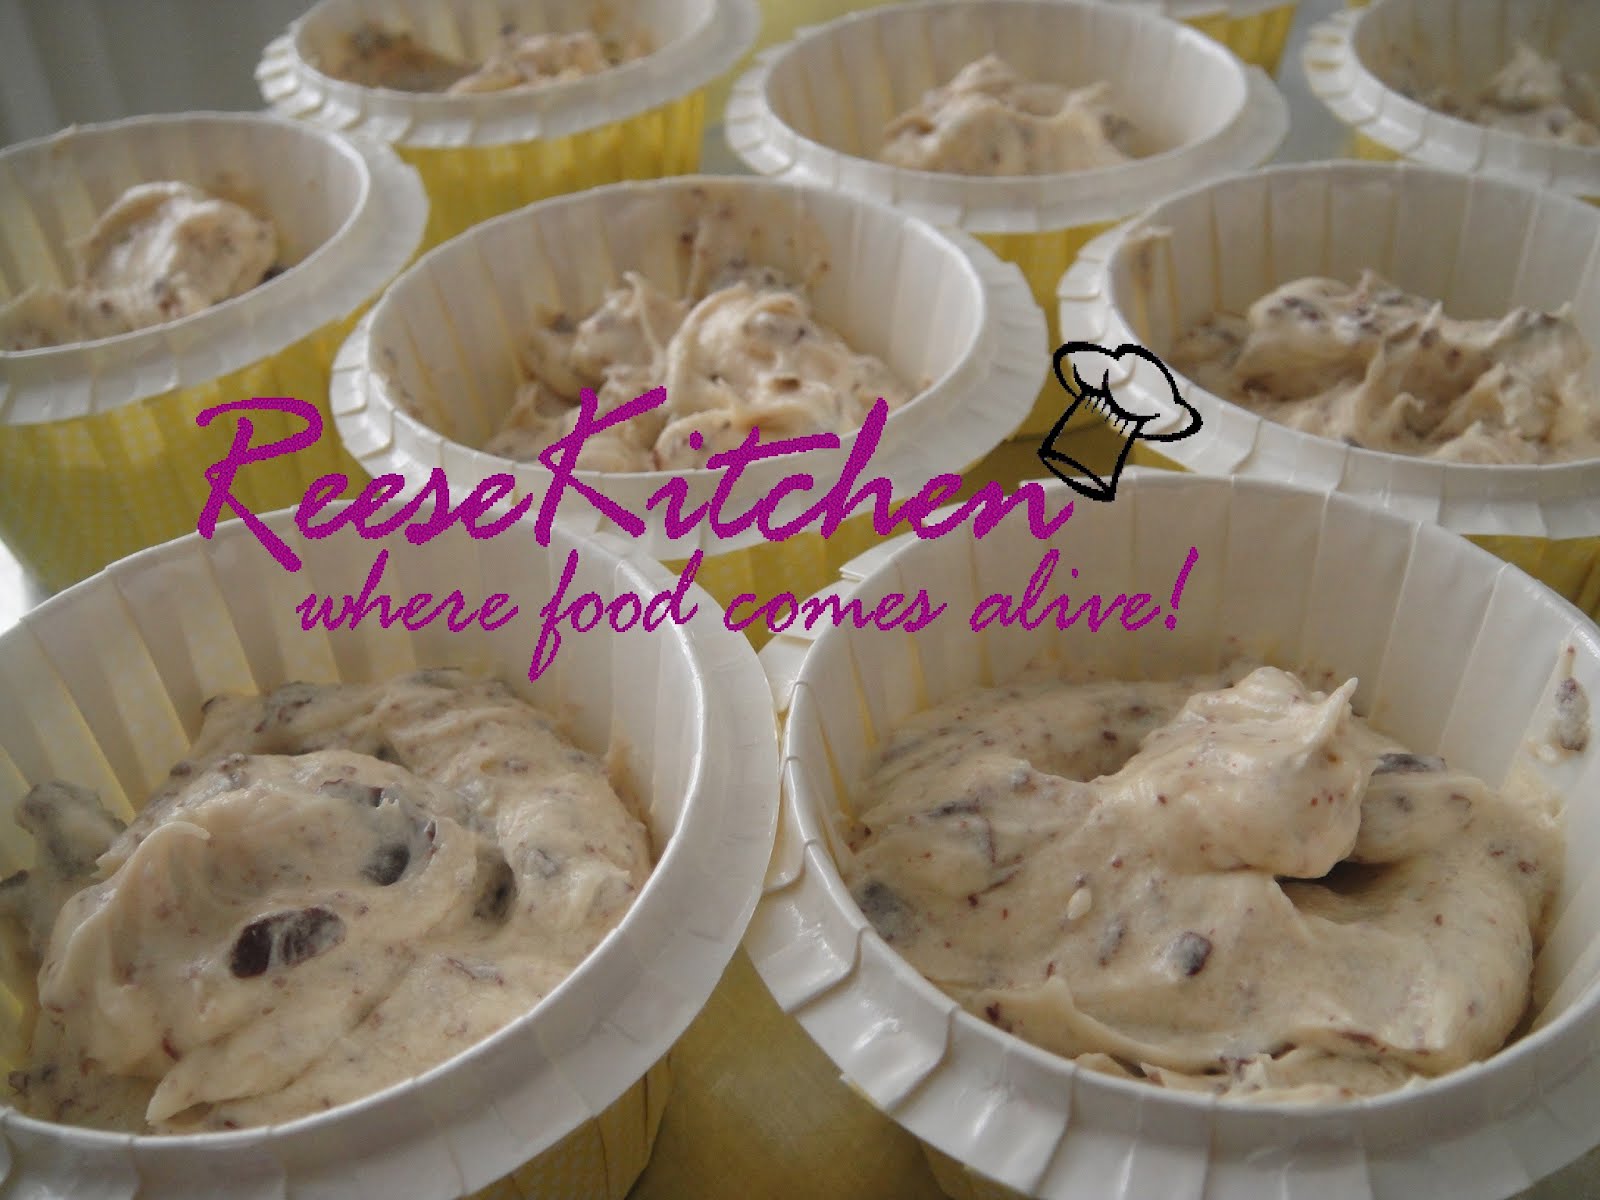
Remember to fill the batter just half of the paper cups so that it won't be over flow. (like below)

Recipe:
225g butter
200g sugar
3 eggs
1/2 cup thick cream
1+ 1/2 cup cake flour
1 tsp baking powder
100g valrhona chocolate (cut into pieces)

Topping:
100g valrhona chocolate (cut into pieces)
20g butter
1/3 cup thick cream
alittle silver balls for decorations


Method:
~ Preheat oven at 160'C. Beat butter and sugar till light and fluffy.
~ Add in eggs one by one.
~ At low speed add in flour & baking powder and cream. Mix well.
~ Add in chocolate pieces and beat for another 2 minutes.
~ Spoon into prepared paper cups and bake for 20-25 minutes at 160'C.

Fillings methos:
~ Place chocolate pieces and butter in a deep bowl, double boiled until melted.
~ Remove and add in cream. Mix well and leave to cool.
~ The mixture should be firm and velvety in consistency.
~ Use a fork to apply the icing on the cooled cupcakes and finish with some silver balls.


The texture of the cake was really soft and delicious. Try it out and let me know...I'm sure you'll like it..:)


Cheers!!


Sunday, October 23, 2011

French Hazelnut Chocolate Cupcakes

Yeah, my daughter will be having 3 days off from school starting tomorrow due to Deepavali Festival. But yesterday we already started our shopping and eating plans...;p A busy Saturday, that we went breakfast with friends, then lunch with my cousin brothers (heavy lunch) then tea with my aunt and another cousin brother then dinner and beer with my hubby. Good treat huh....but....Gosh!!! Then today, another heavy breakfast at MCD, heavy lunch and dinner...oh dear, I should have to start fasting tomorrow...LOL!!


So, since I was to meet my dear cousins and aunt yesterday which I said just now , I've made some cupcakes to share with them. a very new recipe adapted from the book my sister gave me on my birthday...."100 Desserts 西式甜品" by Winnie姐 (Hong Kong).


This recipe suppose to fit into a 6" round cake tin, but I've made it into cupcake moulds which I think its more suitable as a gift. Since the recipe only fits in a 6" cake tin, so I've doubled it to fit 27 medium size paper cupcakes.
A wonderful recipe with good feedback, I think you should try this out...:)


Here's the recipe for only a 6" round cake tin......
3 egg yolks
3 egg whites + 2 tbsps sugar
120g dark chocolate (I used valrhona dark chocolate)
1/2 cup sugar
160g butter
1/2 tsp vanilla essence
90g cake flour / superfine flour
3 tbsps full cream milk
2/3 cup ground hazelnut


Topping:
90g dark chocolate (I used valrhona chocolate too)
4 tbsps whipping cream
1 tbsp butter
some strawberries


Method:
~ Finely chopped the chocolate and melt over a pot of simmering water.
~ Beat sugar and butter till creamy then add in egg yolks one at a time follow by vanilla.
~ Fold in flour, ground hazelnut and milk, mix well.
~ Add in melted chocolate and mix again.
~ Whisk egg whites until foamy then add in 2 tbsps sugar and beat until stiff.
~ Slowly fold in egg whites into chocolate batter and mix well.
~ Spoon into cupcake moulds or a 6" round cake tin and bake at 180'C for 25-30 minutes.
~ To make the topping, melt all ingredients together over a pot of simmering water. Leave to cool brieftly and pour over cake or spoon to top the cupcakes.
~ Leave to set awhile and decorate with some strawberries or some toasted hazelnuts if you prefer.
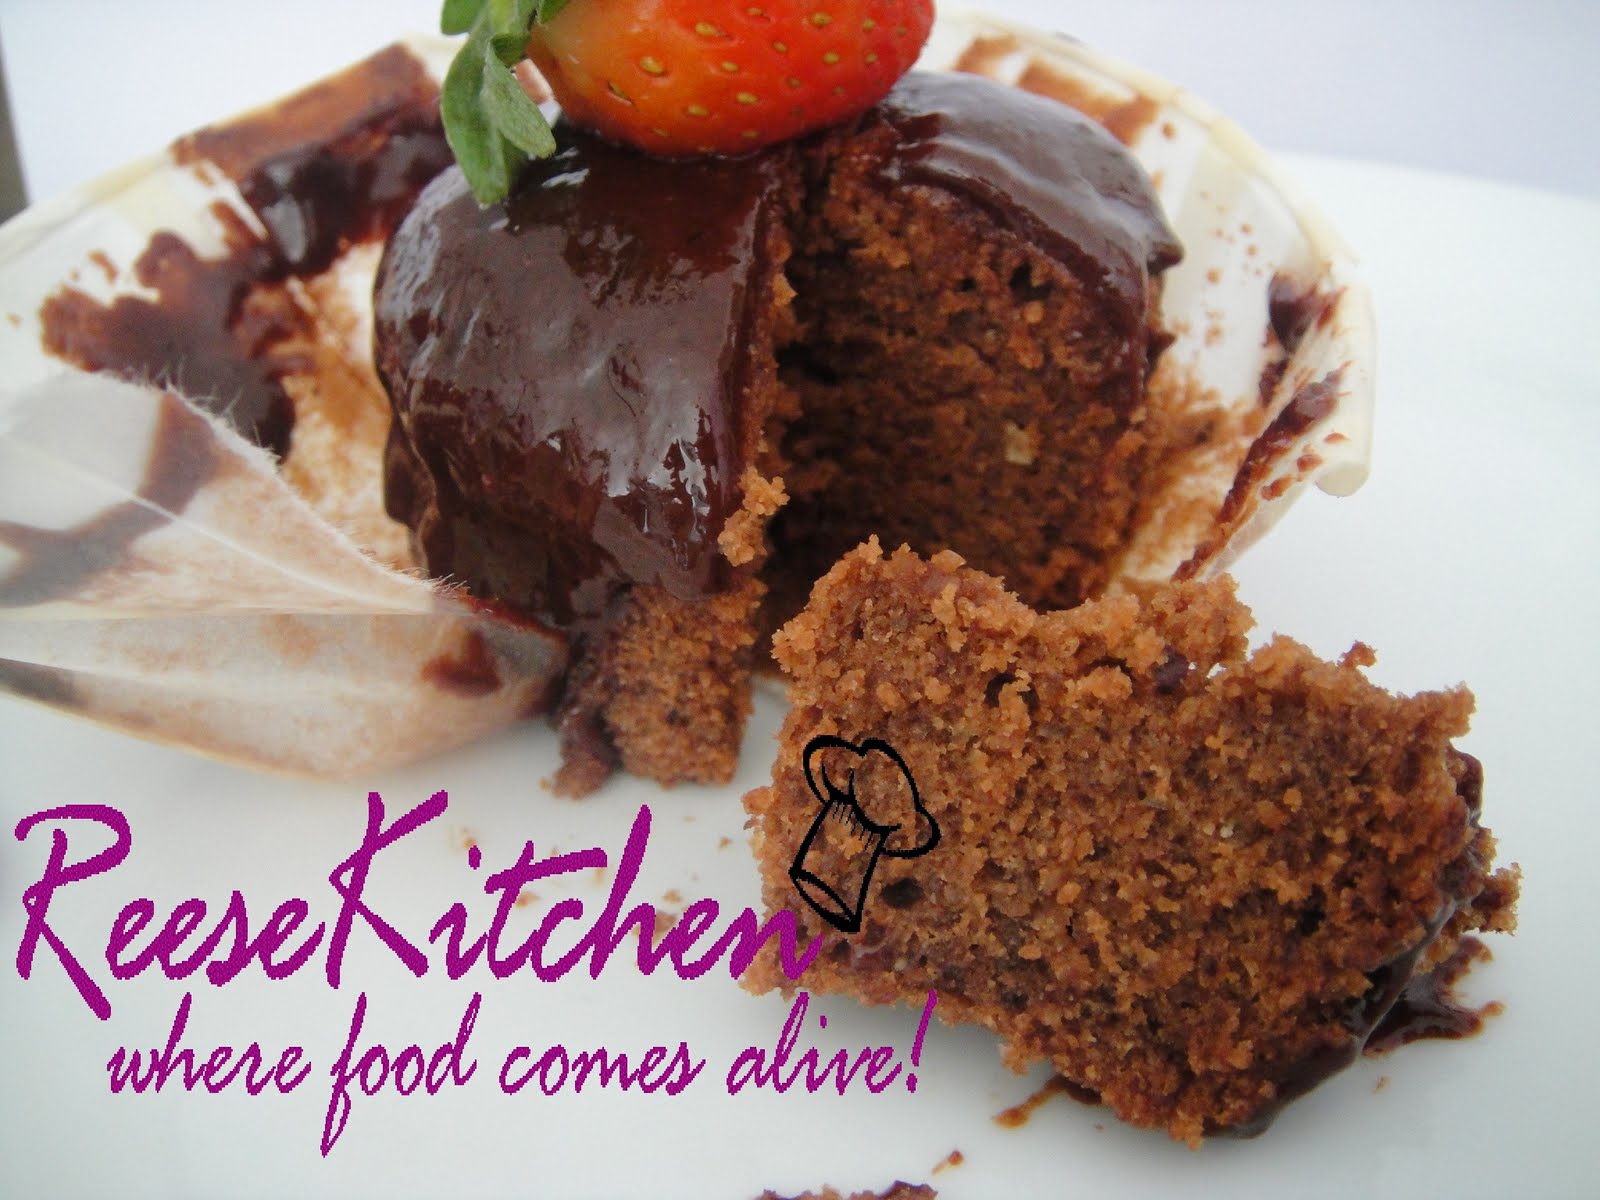
The texture was really good and rich with chocolate flavours. My daughter loves it without the cream and this time, only this time my husband loves my chocolate cake...haha!
Trust me, you have to try this out!!!


Cheers!!

Wednesday, November 2, 2011

Double Chocolate Muffins @ Flower pots

It's November..Yeah! Very excited that school is going to have the term breaks in 2 weeks time and our holidays will begin soon....:)
Well, when I was so excited counting down something happened yesterday and it ruined my coming weekend plans! (Don't ask me why....hopefully everything will be over since then) No mood for anything since yesterday but luckily my dear daughter cheers me up! She did some good improvement for her exams, and I'm glad that she did!
She has been asking for some fondant play and we had this plan since before her school exams start. So, with the promise, we did it this morning!


I've baked this muffins for her last night for her and her friend for the "fondant play" this morning. Scroll down then you'll see what they did.....not a pretty one but glad they enjoy it so much!!...^^


A double chocolate muffin adapted from the book "100 Desserts" (西式甜品) by Winnie 姐. Haven't try eating it yet but it smells good and when I cut it for my photo taking, the texture was soft and moist...:) It'll be my tea break later!!

Recipe with alittle changes:
120g dark chocolate
225g self raising flour
1/2 tsp baking powder
120g brown sugar
75g butter (melted)
2 eggs
1 tsp vanilla essence
1/2 cup thick cream
1/2 cup chocolate chips


** Prepare alittle chocolate ganache if desire to serve with the muffins.

Method:
~ Finely chop the dark chocolate. Melt it over a pot of simmering water.
~ Sift flour with baking powder together and set aside.
~ In a mixing bowl, beat well brown sugar, melted butter, eggs, vanilla essence, cream and melted chocolate together.
~ Add in flour mixture and fold well.
~ Add in chocolate chips and mix well.
~ Spoon into 4oz paper cupcake moulds to 3/4 full and bake at 180'C preheated oven for 25 minutes.


Then.....here comes the girl's work!!
First they cream a thin layer of the chocolate ganache to the sides of the muffins. Then covered with orange fondant to form a flower pot, then follow by some flowers and butterflies to stick on the lollipop stick for decorations.

Top with their favourited "Kit Kat" chocolate balls.......

....and pooked the prepared flowers and butterflies on to the pots!!
These are really untidy and ugly...haha! But they enjoy the whole process of it.....^^ and even asked to do it again tomorrow....haha!
Well, we'll do something else I promised...hehe!
This idea was actually inspired my daughter's favourite TV Programm..."Finger tips"!!


Cheers!

Monday, August 17, 2009

Classic Mousse with Chocolate sponge

Hmm.....have been craving for chocolate lately. My dear friend has passed me some rich and nice chocolate from Singapore. I don't know why they don't sell it here....???
I don't want to waste it on something i'm not confident with, so i came up with this Classic Chocolate Mousse....Actually it was a recipe i searched online long time ago, but can't really remember the add of it. I remembered it was with a video, which i can see exactly how to make the mousse. I did jot down the details of it, keep it until now without trying...haha!


Here's the recipe...

120g Good quality Chocolate
30g Unsalted butter
6 Egg yolks
6 Egg whites
1tbsp Sugar
1 cup Whipped Cream

Method:
~ Double boil (melted) the chocolate, add in butter and stir well
~ Cool the chocolate slightly then add in egg yolks one at a time, mix well
~ Whisk egg white until they are foamy and begining to hold a shape
~ Add in sugar and beat until soft peak formed
~ Add into the chocolate mixture (separate the egg whites into 3 portion, so that its easier to mix)
~ Fold gently in one direction
~ Whipped cream until soft peak form, add into mixture ( same as mixing the egg whites)
~ Fold gently until well combine
~ Spoons into cups or cake tin then chill till harden

** I spoons into cups then placed a thin slice of chocolate sponge cakein the middle and topped with the mousse again.
** For the cake, i used a 4.5" round tin, add a thin layer at the base then layered with mousse. Then add another layer of cake and topped with the mousse again

For the sponge...........
125g Eggs
63g Sugar
55g Cake flour
25ml Water
8g cocoa powder
30g Melted butter

Method:
~ Whisk at high speed the eggs, sugar, flour and water until light and fluffy
~ Lastly fold in the melted butter which is already mixed with cocoa powder
~ Pour mixture into a flat square or round 9" pan lined with cake paper.
~ Bake at 180'C for 25-30 minutes
** May cut the cake into 2 layers if its too thick


Result?!.....Its great! Everybody loves it!...:)
Especially the kids...my daughter said its an ice cream cake...;p. My husband likes it too....YES! That's the most important comment..huh!...hee hee!
Anyway, i'm quite happy with it too....:)


Its simple and delicious! This is not sweet at all, and its worth a try! Enjoy!!....:)

Wednesday, September 29, 2010

Chocolate Bread with Peanut Butter Chocolate Chips

Finally I got my bread done! When was my last post of bread? Hmm, it must be quite some time ago. With a last minute go and a last minute request, here's a last minute simple loaf...;p
Alright, it is a simple one but it's a super delicious one I ever had. I wonder why I didn't try this out since I have this recipe with me all the while.


Oooo sounds interesting yea...haha! I've done it with a super simple bread loaf recipe and mixed in the wonderful peanut butter chocolate chips and cocoa powder....the result was excellence!!
Want to know how simple it is? Here it goes......

Ingredients:
20g castor sugar (already been reduced)
1/2 tsp salt
15g beaten egg
165g cold water
5g instant yeast
40g condensed milk (already been reduced)
5g Cocoa powder / Chocolate powder
250g Bread flour
50g Cake flour
5g milk powder
30g butter

Method:
~ Mix everything in a mixing bowl except butter into a dough.
~ Add in butter and knead till smooth and elastic dough.
~ Cover and leave to prove for 30 minutes.


~ Divide dough into 2 and shape into balls, let rest for another 10 minutes.
~ Then roll out each dough and sprinkled with some peanut butter chocolate chips.
~ Roll up like a swiss roll and arranged into 2 greased mould (3X3X7)".
~ Leave to prove double in size (30 minutes)


**After 30 minutes, it was already doubled in size.


~ Egg wash the top of each loaf, then bake in preheated oven at 180'C for 30 minutes.


Ta-da....the loaf is done!! All you need to wait was about 2 hours then you can taste this yummilicious bread...:) It's super soft and the peanut butter chips was the perfect combination with the chocolate bread.....YUM YUM!!


Cheers!


Monday, August 18, 2014

Super Moist Chocolate Cake

Back to my cake post...;p
If you are a chocolate lover, this is a good one for you. Smooth and rich with chocolate cream...VOILA! A super moist chocolate cake for the beginning of the week. 

A fudge cake covered with chocolate cream and mouth watering moist texture of the cake, this is so far a good one after all the chocolate cake I've tried.
It has occupied the first position in my top 10 best chocolate cake now!


 Ingredients for the cake:
1 1/3 cups warm water
3/4 cup Belgium cocoa powder

1 3/4 cup cake flour
2 tsps baking powder
1/4 tsp fine salt

3/4 cup butter
1 1/4 cup castor sugar
3 eggs (size B)

Method:
~ Combine cocoa powder with warm water. Set aside.
~ Mix all dry ingredients in a bowl.
~ Beat butter and sugar till light and fluffy.
~ Add in eggs, one at a time.
~ Add dry ingredients mixture alternately with cocoa mixture. Always start and end with dry ingredients.
~ Pour into prepared tin. (3 small rectangular loaf tins or a 9" round pan)
~ Bake at 180'C for 30 minutes or until done.


Ingredients for the frosting:
110g Hersley's cooking chocolate bar (semi-sweet with 65% cocoa)
4 tbsps cornflour
1 tbsp condensed milk
1 1/2 cup fresh milk
2 tbsps butter

Method:
~ Mix the above ingredients in a saucepan and cook over a double boiler till spreading consistency.

Cool the cake and cover with frosting. Best serve with a cup of long black (my favourite)..haha!
Don't worry about the sugar or the condensed milk used here, the sweetness of the cake is just nice.


Cheers!


Saturday, June 11, 2011

Passion Fruit Cheesecake with Chocolate

Its the last day of school holiday in Malaysia. Everything will be back to normal tomorrow...:( How I wish my holidays don't ends..;p Well, to celebrate the last day of holiday, I created a cheesecake but its not a cheesy type cheesecake..haha! What am I talking about...;p
Okay, the idea just came across my mind when I was shopping at the groceries yesterday. So here is it..Passion fruit Cheesecake with Chocolate!!


I just mixed and matched the recipes from here and there then I feel like eating it with some chocolate. Then was thinking to coat the whole cake with chocolate but it seems like too sweet or too heavy, so at the end..layered them is my final decision.
Want to try this out? Here's the recipe ...


Composition: ( recipe fits for a 7" round pan)
2 slices sponge cake ( I've cut into small rectangles to fit into 2 small rectangle pans )
** Recipe refer here.


Cheese filling:
250g cream cheese
70 caster sugar
80 fresh passion fruit juice
3/4 tbsps gelatine powder
2 tbsps water
250g fresh cream (whipped)
100g melted semi-sweet chocolate


Method:
~ To make the filling, beat the cream cheese with sugar until smooth, stir in passion fruit juice.
~ Melt gelatine powder with water over a simmering water. Stir into cheese mixture, then fold in whipped cream and mix well.
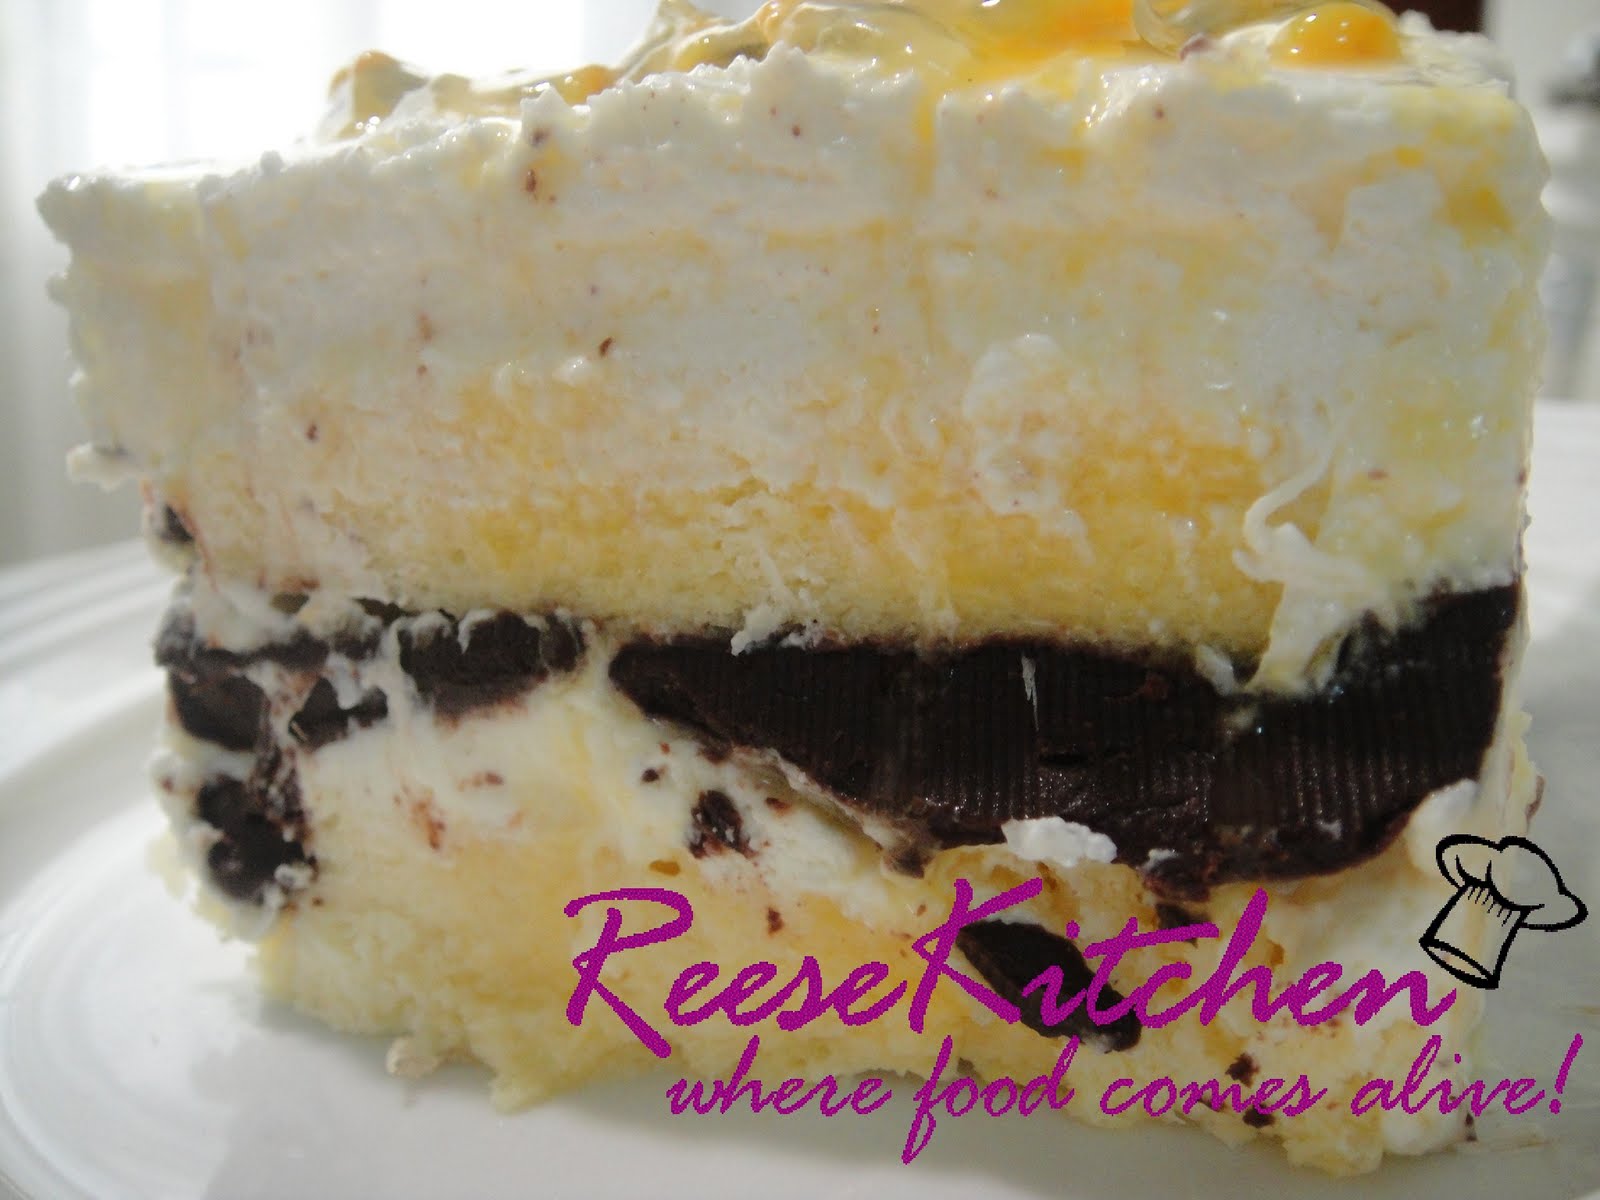
~ Place a slice of sponge into the prepared pan, spread about half an inch cream cheese filling on top of sponge, spread a thin layer of melted chocolate then place another layer of sponge on the chocolate. Lastly cover the top with cheese mixture. (as shown above)
~ Chill overnight and serve cold.


The texture of the sponge is soft, and it's like eating an ice cream cake! My whole family loves it especially my daughter. She has been asking one slice after another, that really please me..:)

Want to have a bite..hehe! I'm going to share with my dear friend later and see what she says..;p


Have a good start tomorrow!!


Cheers!!

Monday, February 9, 2015

Wedding Cake & Valentine Chocolates

This was what I've been working for...a 3 tiers wedding cake for my dear cousin. Not quite satisfied with the final touched but it was all going quite well with the right taste..;p
The recipe of the cakes I've used here was my favourite Chocolate moist cake that is in my top list!
Please refer to the cake recipe here!
I've added fillings to the cake too (scroll down for the fillings recipe) Then the coating was just a simple Chocolate ganache ( Chocolate & cream)


 The flowers was done earlier and were packed (as shown below) for her to keep as souvenir.


Recipe for the cake fillings:
4 tbsps cornflour
1.5 cups evaporated milk
1 cup condensed milk
1/2 cup cocoa powder
2 tbps butter

~ Cook the above ingredients in a pot over double boiler till spreading consistency.My next project,,,,tthe Valentine Chocolates for friends!!


Googled this recipe and I love it so much! It's so simple and it can be done even though you don't even know how to cook!!

Fillings:
100g icing sugar
2 tbsps rapsberry flavors (any flavors you desire)
1 tbsp butter
~ Mix all ingredients together and make into small little balls, set aside.

Coating:
~ Melt 300g good quality dark chocolates over double boiler (I used Beryl's dark chocolate)

Making the Chocolates:
~ Brush alittle melted chocolate at the bottom of each mold to avoid any bubbles.
~ Spoon a small amount of melted chocolate into the mould then put the fillings in the middle
~ Spoon more melted chocolate to cover the mould.
~ Keep in the fridge for about 10-15 mins. Remove the set chocolates from the mould and you'll have a pretty yummy chocolates!!


Happy Valentine!!!

Friday, October 29, 2010

White Chocolate Swiss Roll & Vegetarian Baos

Friday has come, and we are planning for another weekend outdoor activities. My daughter likes to go picnic, instead of park we used to do it near our condo's poolside. (Actually I'm lazy to drive to the park..haha!) Oh well, as I mentioned in my last post that I'll bake my little one a swiss roll...here is it..White Chocolate Swiss Roll!! A little delayed..heehee... but she was full of joy when she sees this roll...probably she's thinking that she doesn't have to take anymore bread...;p

2 slices were gone for her tea, and the rest are for our picnic tomorrow...:)


A very simple one adapted from "Elegant Swiss Roll by Kevin Chai" but with slight changes.
Instead of making patches (by adding some cocoa powder) I'll like it plain white. Somehow I did added alittle dark chocolate chips in it.

Ingredients:
180g sponge mix
3 eggs
1/2 tsp vanilla essence
40ml water
40g butter (melted)

Fillings:
80g White chocolate (melted)
1 tbsp cornoil
80g whipping cream (whipped)
a little dark chocolate chips (optional)

Method:
~ Prehear oven at 180'C and greased a 10x14" baking tray line with parchment paper.
~ Beat sponge mix, eggs, vanilla essence and water until light and fluffy. Gradually fold in melted butter and mix well.
~ Pour batter on prepared tray and baked for 8-10 minutes at 180'C. Leave to cool.
~ For fillings, mix cornoil with melted white chocolate. Fold in whipped cream and mix well.
~ Turn sponge onto paper, spread with fillings and roll gently. Keep in refrigerator for 30 minutes before slicing.


Another was my long missed baos! It was quite sometime that I haven't steam any baos.
Using all the old recipe from my previous posts but some look very cute here...;p
I've done some with redbean fillings but cut it and twisted it into some shapes..haha!

Well they were suppose to look like butterflies but when my little one sees them she said...Wa! They look like forg's eyes!!!...LOL!! they do actually...haha!


But they do impress the kids to give them a bite though. Kids always look for food with funny and cute shapes instead of how they taste.

Since we are going over friend's house for dinner, so I've decided to make some vegetarian "char siu" baos for them too. Similar with my older posts but with different kind of vegetarian meat I used. I still prefer the older one, maybe it depneds the qualities and brands selling in the market that make the difference.

Happy Weekends!!


LinkWithin

Related Posts with Thumbnails